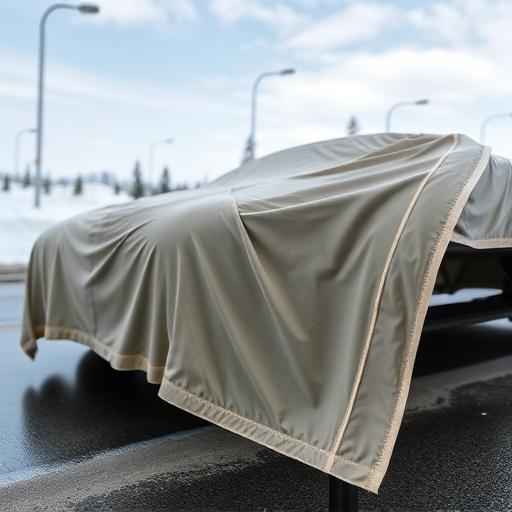

Understanding material finishes is key in vehicle wrap installation for both aesthetics and protection. Matte hides imperfections and scratches, ideal for low light; gloss offers vibrant look but shows scratches; satin balances sheen, glare reduction, and UV protection. The process adapts to finishes with cleaning, priming, wrapping, and clear coating. Professionals ensure precise application, concealing imperfections and preserving exteriors with paint protection film. Meticulous preparation, heat tool balance, consistent pressure, and patience are crucial for professional results, enhancing custom graphics' beauty. Window tinting complements the overall aesthetic.
“Elevate your vehicle’s style with the art of vehicle wrap installation, offering a transformative finish that goes beyond traditional painting. This guide explores the world of wrap materials, delving into the distinct characteristics of matte, gloss, and satin finishes. Learn the step-by-step process for each, from preparation to application, ensuring optimal results. Discover best practices and expert tips to navigate the installation seamlessly, achieving a professional, eye-catching finish that lasts.”
- Understanding Vehicle Wrap Materials: Matte vs Gloss vs Satin
- Installation Process: Step-by-Step Guide for Different Finishes
- Tips and Best Practices for Achieving Professional Results
Understanding Vehicle Wrap Materials: Matte vs Gloss vs Satin
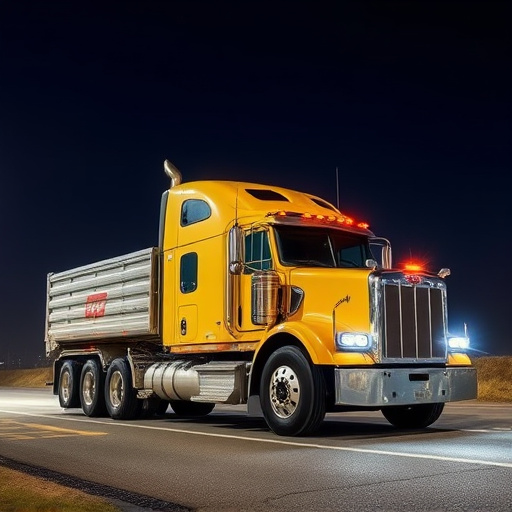
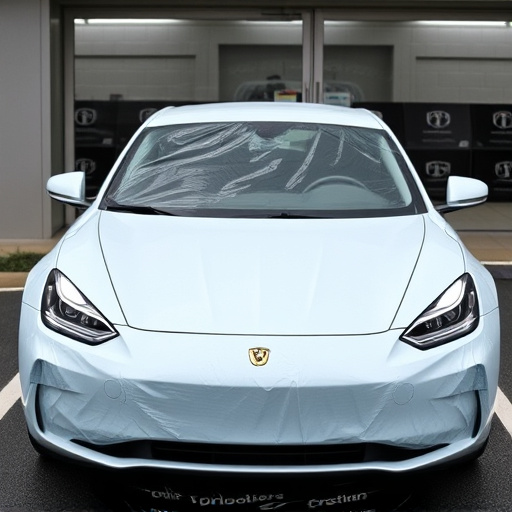
When it comes to vehicle wrap installation, understanding the materials is key to achieving a professional finish that serves both aesthetic and protective purposes. Vehicle wraps come in various finishes, with matte, gloss, and satin being the most common. Each option offers distinct visual appeal and levels of protection against environmental factors.
Matte finishes provide a flat, non-reflective surface that hides minor imperfections and offers superior scratch resistance. This makes them ideal for vehicles used in environments with low exposure to direct sunlight. Gloss finishes, on the other hand, reflect light dramatically, creating a vibrant, eye-catching appearance. They are prone to showing scratches more readily but add a touch of luxury to custom vehicle wraps. Satin finishes strike a balance between matte and gloss, offering a subtle sheen that reduces glare while still providing some protection against UV rays and minor scrapes. This versatility makes satin finishes popular for vehicles that require both style and functionality.
Installation Process: Step-by-Step Guide for Different Finishes
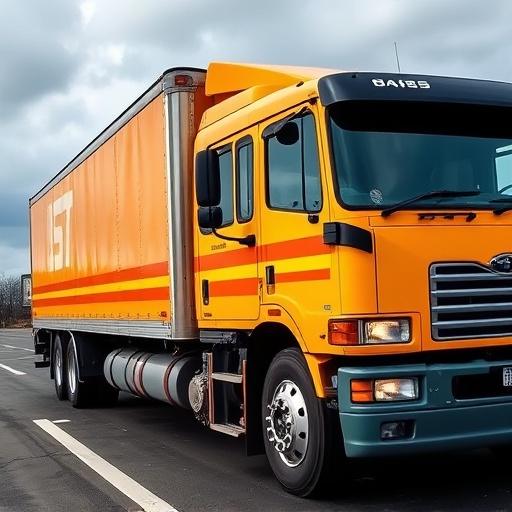
The installation process for vehicle wrap finishes like matte, gloss, or satin varies slightly based on the desired effect. For a vehicle wrap installation with matte finish, the applicator starts by cleaning and preparing the surface. A primer is then applied to enhance adhesion, followed by the wrapping material which is carefully smoothed out using a roller or air compressor. The final step involves trimming excess vinyl and ensuring no bubbles remain.
With gloss or satin finishes, the process is comparable but with an additional coating step. After priming and installing the vinyl wraps, a clear coat is applied to achieve the desired shine. This extra layer adds protection and enhances the visual impact. Regardless of finish, professional premium automotive services ensure precise application, ensuring chips, scratches, and stains are effectively concealed, preserving the vehicle’s exterior for longer with paint protection film.
Tips and Best Practices for Achieving Professional Results

Achieving professional results in vehicle wrap installation requires a keen eye for detail and adherence to best practices. First, prep the surface thoroughly; ensure it’s clean, free from debris, and dry to avoid bubbles or misalignments. A smooth base is crucial for long-lasting wraps, especially when using custom graphics that need to be precise and crisp.
During installation, use a heat tool to activate the adhesive, but be mindful of overheating, which can damage the wrap material. For optimal results with various finishes like matte, gloss, or satin, maintain consistent pressure and avoid stretching the film. For windows, consider window tinting for added privacy and heat rejection, complementing the overall aesthetic. Remember, precision and patience are key; taking your time ensures a seamless finish that showcases the beauty of your custom graphics.
Vehicle wrap installation offers a transformative way to customize and protect your car, truck, or van. By understanding the nuances of matte, gloss, and satin finishes, along with mastering the installation process, you can achieve professional results that enhance both aesthetics and durability. Following best practices ensures a flawless finish, making your vehicle stand out in any fleet or personal setting. Whether you’re a professional wrapper or a DIY enthusiast, mastering these techniques will elevate your vehicle wrap installation game.